_banner_1200x275.jpg "资讯科技增润班共享学习资源")


_banner_640x300.jpg "资讯科技增润班共享学习资源")


3D Scanning equipment (3D Scanning 设备)
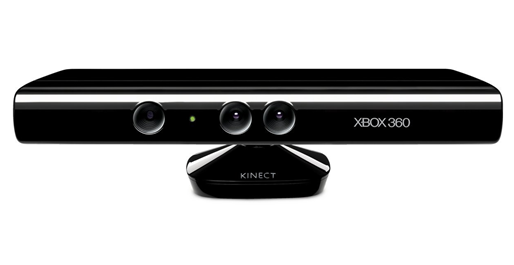
1. Kinect sensor (Xbox 360 version) (3D Portrait scan hardware (3D 人像扫瞄硬件)
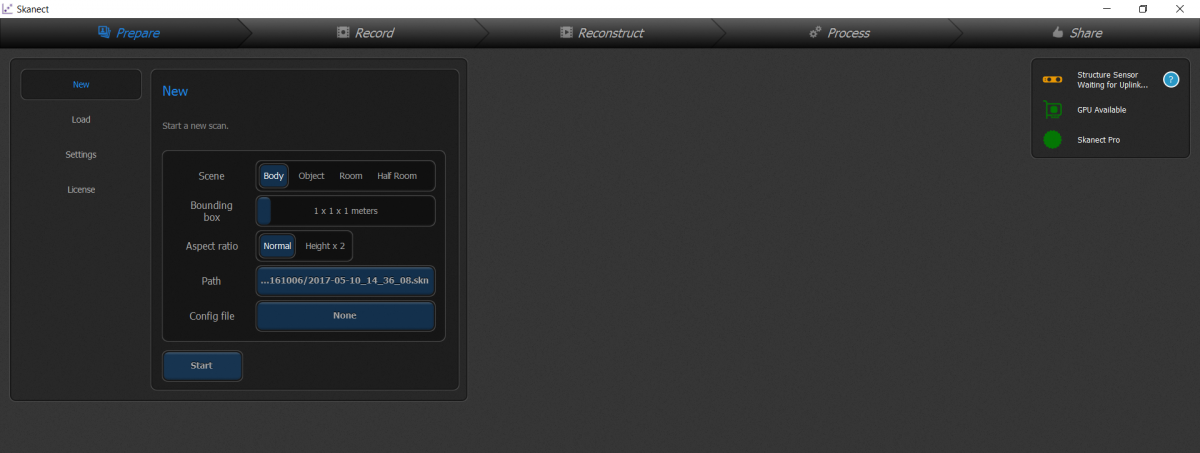
2. Skanect (3D Portrait scan software (3D 人像扫瞄软件))
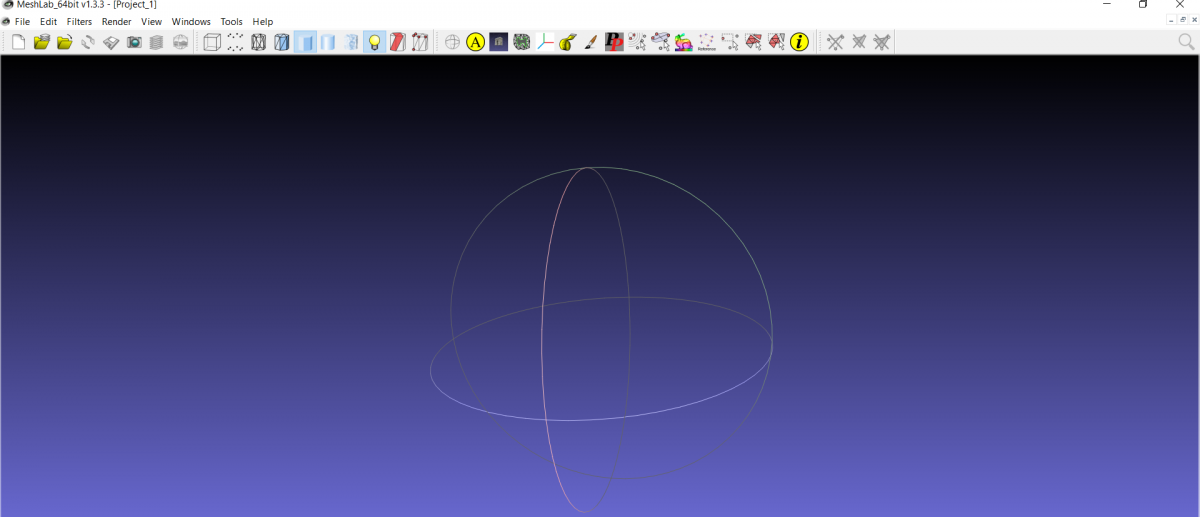
3. MeshLab (Post-production, such as reducing the number of Mesh and segmentation scan obtained by the three-dimensional independent obj and texture files (后期制作,例如减少由独立的立体 obj 及 texture 档案所产生的 Mesh 的数量及分割扫瞄))
Use Unity to make VR or AR APP's basic settings (使用 Unity 制作 VR 或 AR APP 的基本设置)
1. Go to https://unity3d.com and https://developer.android.com/studio/index.html to download Unity and Android SDK and make basic settings
(到 https://unity3d.com 及 https://developer.android.com/studio/index.html 下载 Unity 及 Android SDK 及进行基本设置)
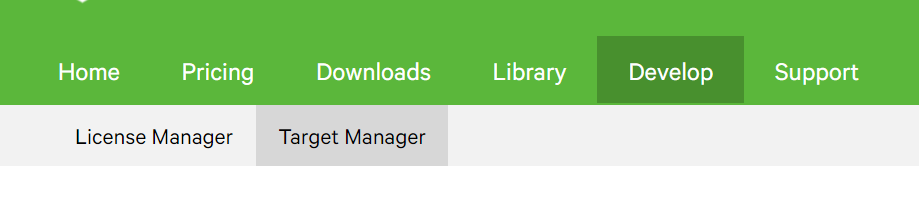
2. Go to https://developer.vuforia.com to create an account. After create an account, go to Develop -> License Manager -> Add License Manager (as showed in the picture below)
(到 https://developer.vuforia.com 建立帐户,建立帐户后,到 Develop -> License Manager -> Add License Manager (如图示)
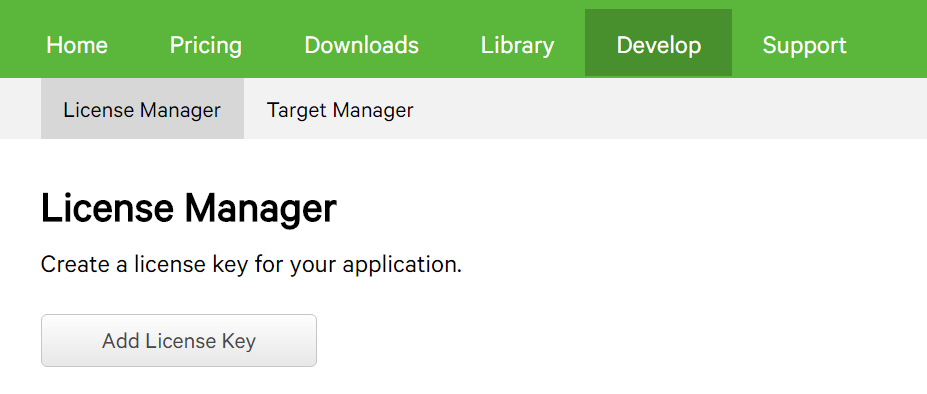
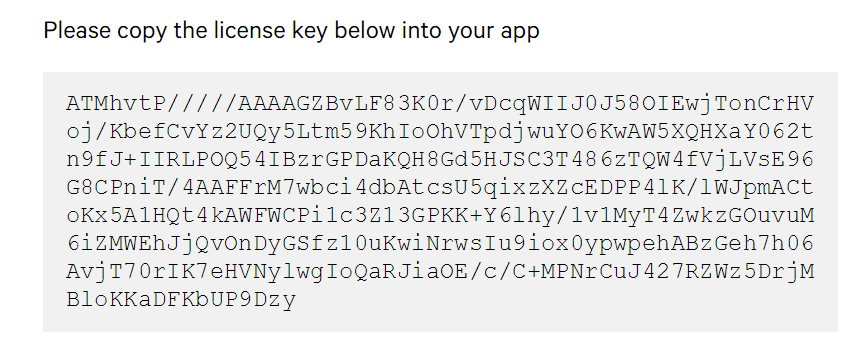
3. Follow the instructions to create a License Key (按指示建立后便可取得 License Key)
4. Download the Vuforia SDK at https://developer.vuforia.com/downloads/sdk (到 https://developer.vuforia.com/downloads/sdk 下载 Vuforia SDK)

5. Open UNITY and create Project, import the above SDK (Assets -> import Package -> Custom Package -> select the downloaded step 4 of the SDK).
(开启 UNITY 及建立Project,汇入以上 SDK (Assets -> import Package -> Custom Package -> 选上步骤4的下载的 SDK))
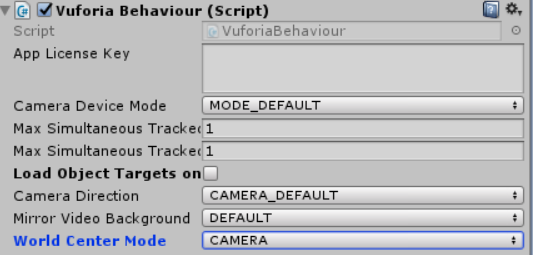
6. At lower left corner Asset -> Prefabs -> ARCamera drag to the left, press ARCamera (left), and copy the License Key of Step 3 to the App License Key in this Inspector.
(左下角 Asset -> Prefabs -> ARCamera 拖曳至左方,按下 ARCamera (左方),并复制步骤3的 License Key 到此物件 Inspector 中的 App License Key 中)

Step 6.1 (步骤6.1)
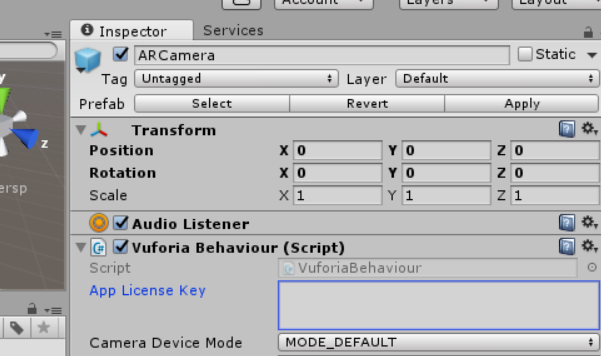
Step 6.2 (步骤6.2)
Create Augmented Reality (制作 Augmented Reality)
1. Select Develop -> Target Manger at https://developer.vuforia.com (到 https://developer.vuforia.com 选取 Develop->Target Manger)
2. Add Database, Add Target (recommended jpeg file) (Add Database 后,Add Target (建议 jpeg 档))
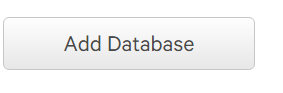
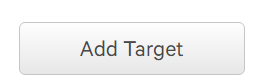
Image template download (图像范本下载 (Stone)): http://goo.gl/5H05hg
3. Pressing Download Database (Unity Editor) will automatically import to Unity (按下 Download Database(Unity Editor) 便会自动汇入至 Unity)
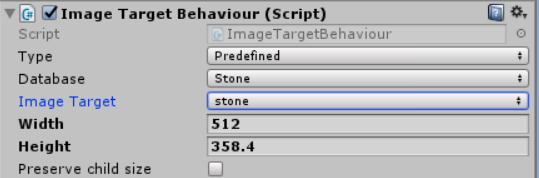
4. At lower left Asset -> Prefabs -> Image Target drag to the left, press Image Target. At the right Inspector Select Database (Target name)
(左下角 Asset ->Prefabs ->Image Target 拖曳至左方,按下 Image Target (左方),到右方 Inspector 选取 Database(Target 名字))
5. Press ARCamera (left) and select the right Inspector (按下 ARCamera (左方),右方 Inspector 选取)

6. Left right key -> 3D Object -> Cube, created and dragged into the image Target's child (左方右键 -> 3D Object -> Cube,建立后拖曳为 Image Target 的 child 中)
7. Left ARCamera, select World Center Mode for Camera (左方 ARCamera,选取 World Center Mode为 Camera)
8. Export (File -> Build and Run) Unity Project for the Android phone. In Player Setting, fill in Company Name and Product Name, and in the Identification -> Bundle fill just the Company Name and Product Name.
(汇出 (File->Build and Run) Unity Project 为 Android 手机,Player Setting 中填上 Company Name 及 Product Name,并于 Identification -> Bundle 填上刚刚的 Company Name 及 Product Name)
