3D Scanning equipment (3D Scanning 設備)
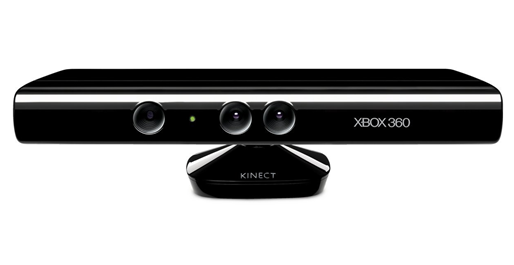
1. Kinect sensor (Xbox 360 version) (3D Portrait scan hardware (3D 人像掃瞄硬件)
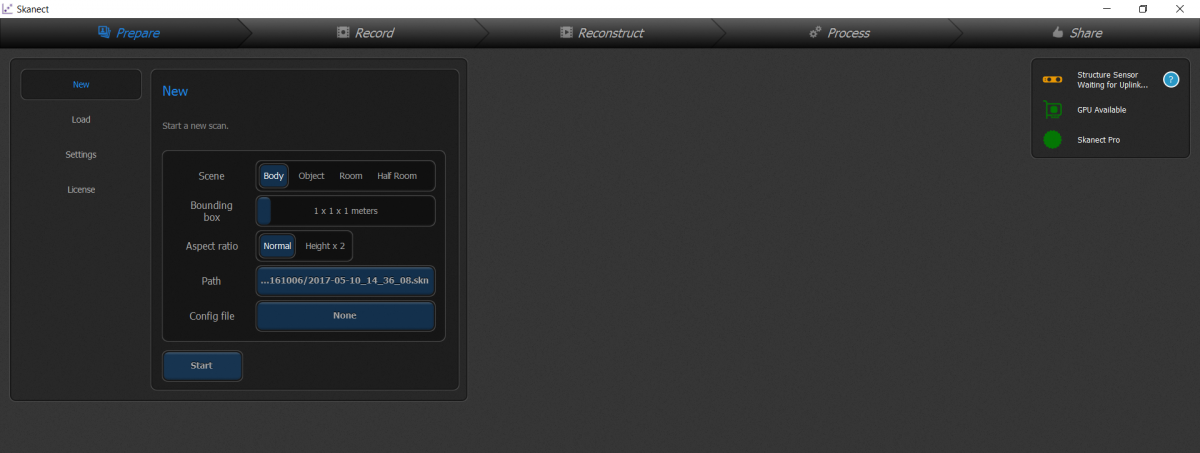
2. Skanect (3D Portrait scan software (3D 人像掃瞄軟件))
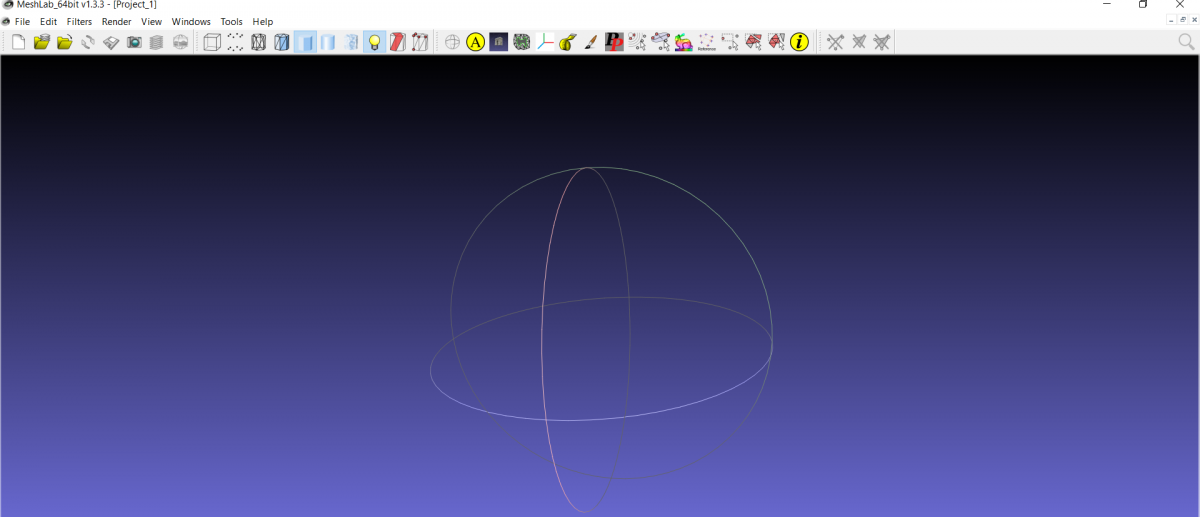
3. MeshLab (Post-production, such as reducing the number of Mesh and segmentation scan obtained by the three-dimensional independent obj and texture files (後期製作,例如減少由獨立的立體 obj 及 texture 檔案所產生的 Mesh 的數量及分割掃瞄))
Use Unity to make VR or AR APP's basic settings (使用 Unity 製作 VR 或 AR APP 的基本設置)
1. Go to https://unity3d.com and https://developer.android.com/studio/index.html to download Unity and Android SDK and make basic settings
(到 https://unity3d.com 及 https://developer.android.com/studio/index.html 下載 Unity 及 Android SDK 及進行基本設置)
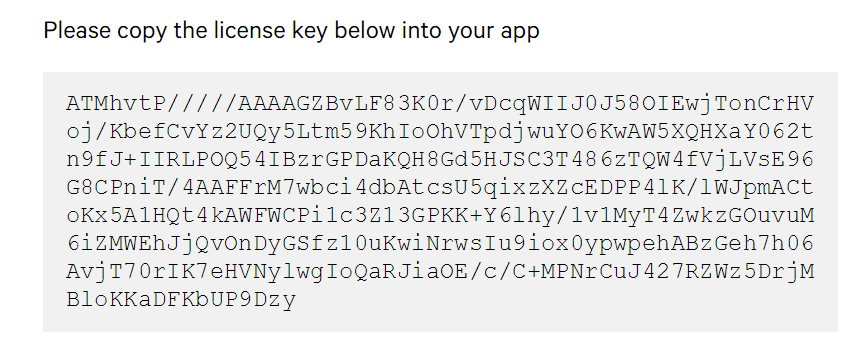
2. Go to https://developer.vuforia.com to create an account. After create an account, go to Develop -> License Manager -> Add License Manager (as showed in the picture below)
(到 https://developer.vuforia.com 建立帳戶,建立帳戶後,到 Develop -> License Manager -> Add License Manager (如圖示)
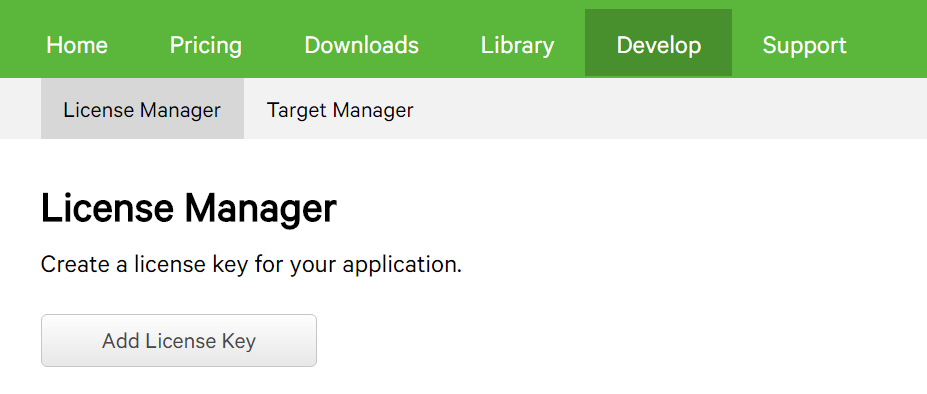
3. Follow the instructions to create a License Key (按指示建立後便可取得 License Key)
4. Download the Vuforia SDK at https://developer.vuforia.com/downloads/sdk (到 https://developer.vuforia.com/downloads/sdk 下載 Vuforia SDK)

5. Open UNITY and create Project, import the above SDK (Assets -> import Package -> Custom Package -> select the downloaded step 4 of the SDK).
(開啟 UNITY 及建立Project,匯入以上 SDK (Assets -> import Package -> Custom Package -> 選上步驟4的下載的 SDK))
6. At lower left corner Asset -> Prefabs -> ARCamera drag to the left, press ARCamera (left), and copy the License Key of Step 3 to the App License Key in this Inspector.
(左下角 Asset -> Prefabs -> ARCamera 拖曳至左方,按下 ARCamera (左方),並複製步驟3的 License Key 到此物件 Inspector 中的 App License Key 中)
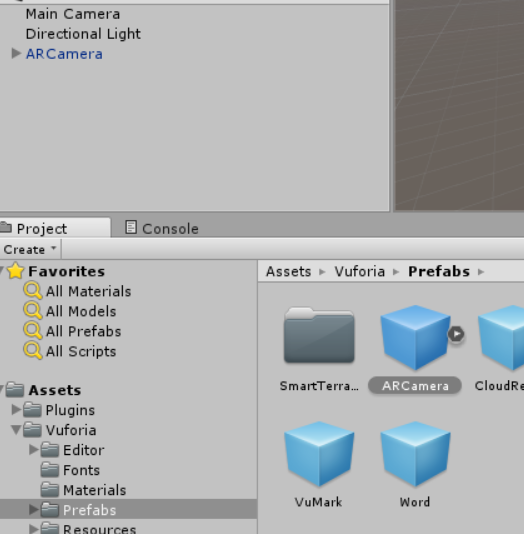
Step 6.1 (步驟6.1)
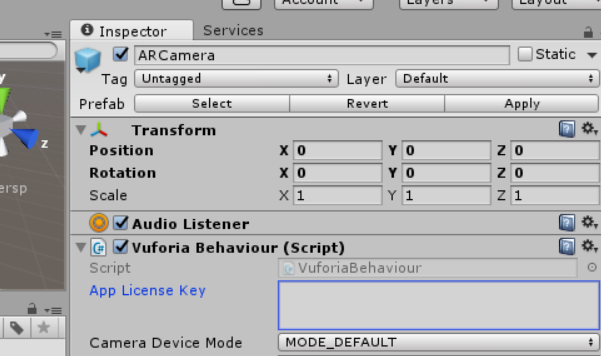
Step 6.2 (步驟6.2)
Create Augmented Reality (製作 Augmented Reality)
1. Select Develop -> Target Manger at https://developer.vuforia.com (到 https://developer.vuforia.com 選取 Develop->Target Manger)

2. Add Database, Add Target (recommended jpeg file) (Add Database 後,Add Target (建議 jpeg 檔))


Image template download (圖像範本下載 (Stone)): http://goo.gl/5H05hg
3. Pressing Download Database (Unity Editor) will automatically import to Unity (按下 Download Database(Unity Editor) 便會自動匯入至 Unity)
4. At lower left Asset -> Prefabs -> Image Target drag to the left, press Image Target. At the right Inspector Select Database (Target name)
(左下角 Asset ->Prefabs ->Image Target 拖曳至左方,按下 Image Target (左方),到右方 Inspector 選取 Database(Target 名字))

5. Press ARCamera (left) and select the right Inspector (按下 ARCamera (左方),右方 Inspector 選取)

6. Left right key -> 3D Object -> Cube, created and dragged into the image Target's child (左方右鍵 -> 3D Object -> Cube,建立後拖曳為 Image Target 的 child 中)
7. Left ARCamera, select World Center Mode for Camera (左方 ARCamera,選取 World Center Mode為 Camera)
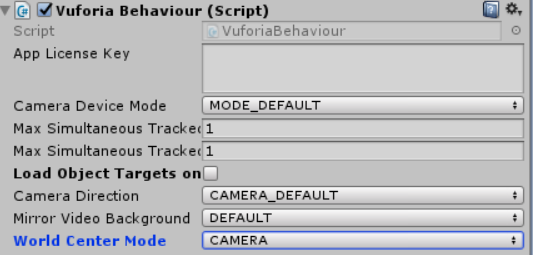
8. Export (File -> Build and Run) Unity Project for the Android phone. In Player Setting, fill in Company Name and Product Name, and in the Identification -> Bundle fill just the Company Name and Product Name.
(匯出 (File->Build and Run) Unity Project 為 Android 手機,Player Setting 中填上 Company Name 及 Product Name,並於 Identification -> Bundle 填上剛剛的 Company Name 及 Product Name)

_banner_1200x275.jpg)


_banner_640x300.jpg)


